The Tone Curve Isn't Scary — You're Just Using It Wrong

The Tone Curve Isn't Scary — You're Just Using It Wrong

The Tone Curve Isn’t Scary — You’re Just Using It Wrong I used to skip the tone curve entirely. Just drag the Basic panel sliders around, call it a day, and move on. This worked fine until I started editing press shots for my band back in Nashville, and “fine” stopped being good enough. The images looked flat no matter what I did in the Basic panel. I’d push Contrast up, the shadows went muddy.

Fix Overexposed Backgrounds Without Touching Your Subject in Lightroom

Fix Overexposed Backgrounds Without Touching Your Subject in Lightroom

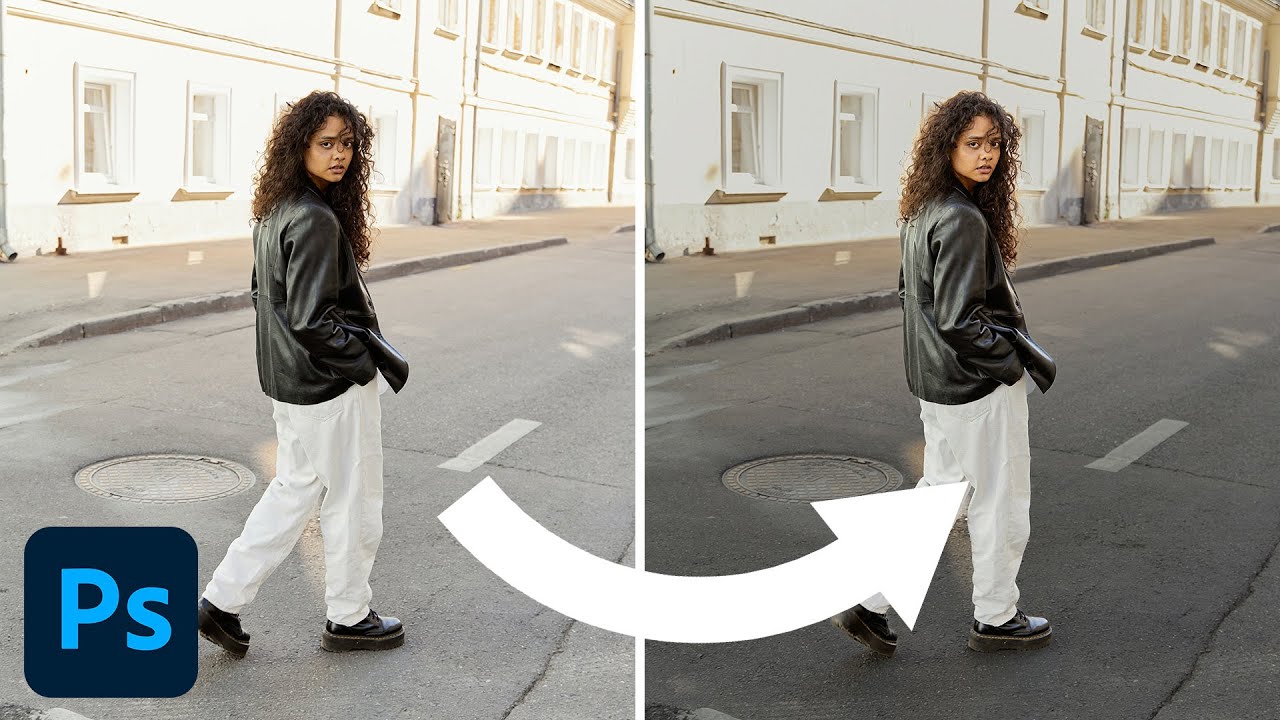
There’s a specific kind of frustration that comes with a photo that’s almost perfect. The subject looks great, the composition is solid, but the background is blown out, and every time you drag the exposure slider down to fix it, your subject goes flat and dark with it. I’ve been there more times than I care to admit. It’s one of those problems that looks like a retouching issue but is really a workflow issue.

Why Your Digital Photos Look Too Clean (And How Film Emulation Fixes It in Lightroom)

Why Your Digital Photos Look Too Clean (And How Film Emulation Fixes It in Lightroom)

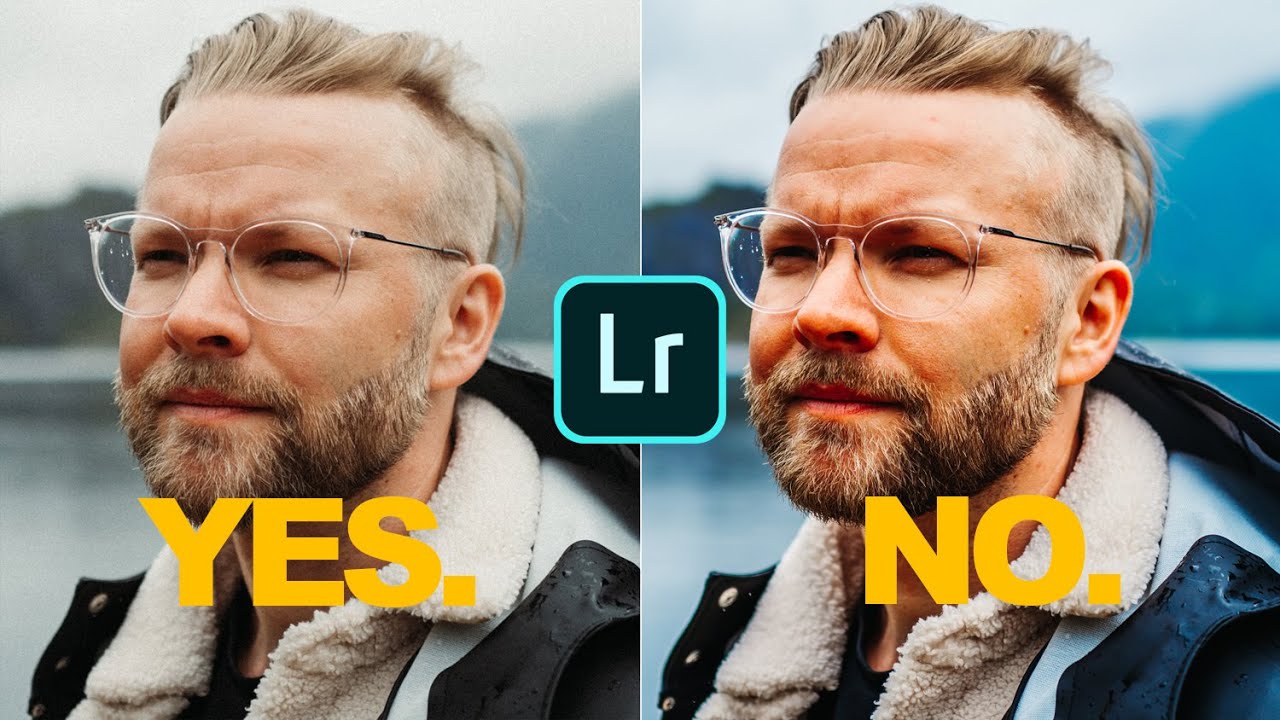
I spent three hours last Tuesday staring at a batch of portraits that were technically perfect and somehow completely lifeless. Sharp, well-exposed, neutral white balance. The histogram looked like a textbook example. And yet every single image had that unmistakable quality I’ve come to think of as “digital flatness” — the kind of sterile, clinical look that makes a photo feel like a document instead of a moment. I ended up running them through a Kodak Portra 400 emulation preset I built last year (named “Desolation Row,” for the record), and within about forty seconds, the whole session clicked into place.

Stop Over-Editing Your Photos: What Peter McKinnon's Leica Workflow Taught Me About Restraint

Stop Over-Editing Your Photos: What Peter McKinnon's Leica Workflow Taught Me About Restraint

There’s a version of me from about six years ago who would have wrecked these photos. I know this because I still have the hard drives. Too much contrast, greens cranked to neon, a heavy-handed preset slapped on top like a bumper sticker. I thought volume equaled quality. I was wrong, and it took years of editing other people’s work before I figured out why my own stuff looked so processed.

Purple Fringing and Publish Services: Two Lightroom Fixes You'll Use Every Single Week

Purple Fringing and Publish Services: Two Lightroom Fixes You'll Use Every Single Week

There’s a specific kind of frustration that hits when you deliver a print to a client and then spot the problem yourself, standing right there next to them. Purple fringing along a roofline, a green halo eating into a branch, some artifact you somehow missed at screen size. I’ve been there more than once, and it never gets less embarrassing. The fix exists, it takes about fifteen seconds, and for whatever reason it doesn’t get talked about enough in beginner and intermediate circles.

Lightroom's June 2022 Update Finally Fixed the Two Things That Drove Me Crazy

Lightroom's June 2022 Update Finally Fixed the Two Things That Drove Me Crazy

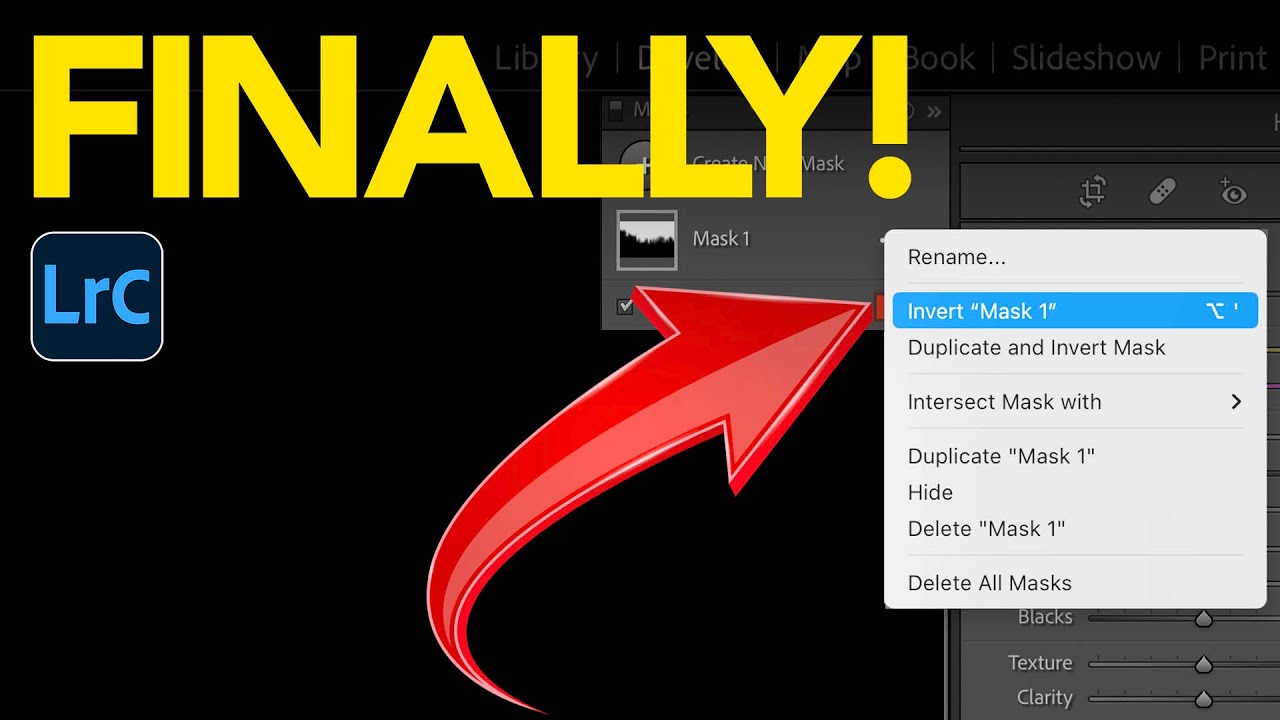
Every few months I open a Lightroom update and feel genuinely relieved. Not excited in a tech-launch way, but relieved, the way you feel when someone finally fixes a squeaky door you’ve been ignoring for a year. The June 2022 release of Lightroom Classic 11.4 hit like that. When Adobe introduced AI masking back in October 2021, I was all in immediately. Select Sky, Select Subject, the whole suite. But two limitations kept tripping me up in real sessions: you couldn’t sync AI masks across multiple photos without losing the mask entirely, and inverting a complex mask to affect the background was clunkier than it needed to be.

7 Lightroom & Photoshop Skills Worth Mastering When You Can't Shoot

7 Lightroom & Photoshop Skills Worth Mastering When You Can't Shoot

There’s a version of me that used to think editing was the boring part. Shooting was the job. Editing was the chore you did afterward so you could post something. Then I spent a rainy Nashville weekend going deep on color grading and came out the other side with a completely different understanding of what a photograph actually is. The edit isn’t the afterthought. It’s the second half of the creative decision.

How to Add a Warm Backlit Glow to Photos Using Photoshop Adjustment Layers

How to Add a Warm Backlit Glow to Photos Using Photoshop Adjustment Layers

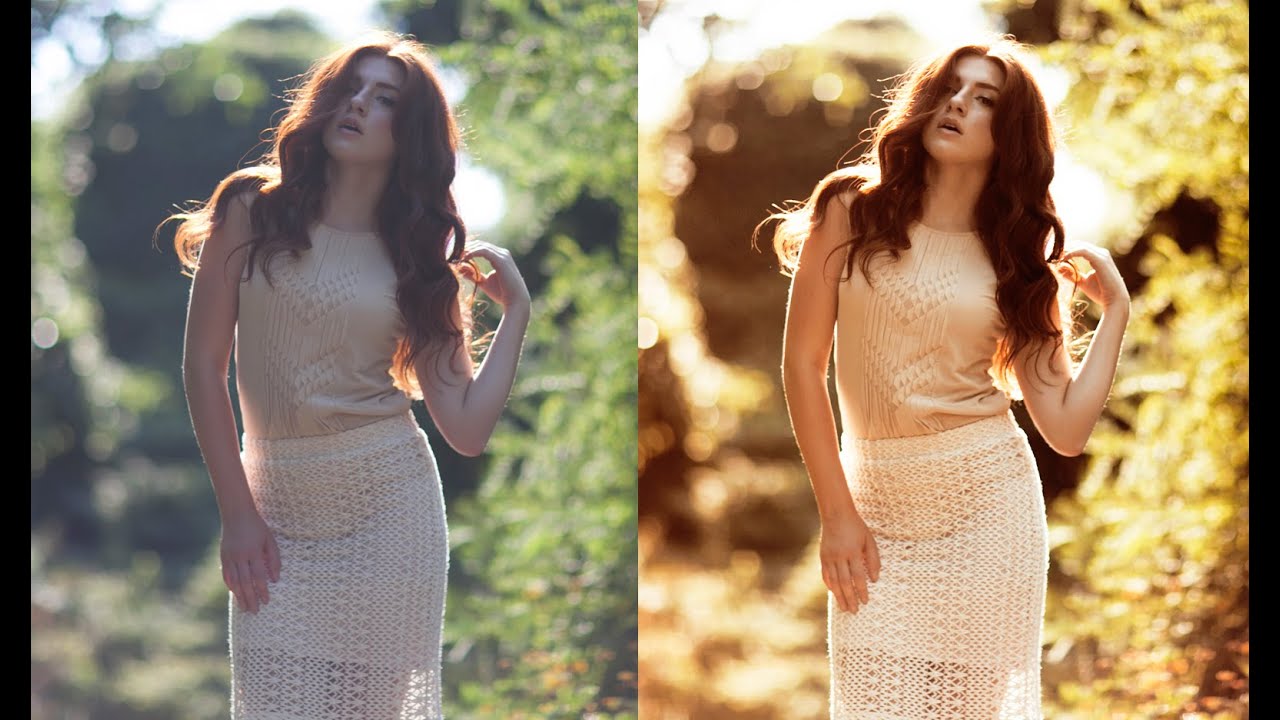
Backlit portraits are one of those shots that look gorgeous straight out of camera but almost always need a push in post to reach their potential. The light is already doing something interesting, and your job as an editor is to lean into that warmth rather than fight it. I’ve spent a lot of time chasing that golden-hour feel inside Lightroom, but sometimes a Photoshop-based approach gives you more control over where the warmth actually lands in the frame.

The Dirty Secret About RAW Files in Photoshop (And Why Your Camera Raw Filter Is Lying to You)

The Dirty Secret About RAW Files in Photoshop (And Why Your Camera Raw Filter Is Lying to You)

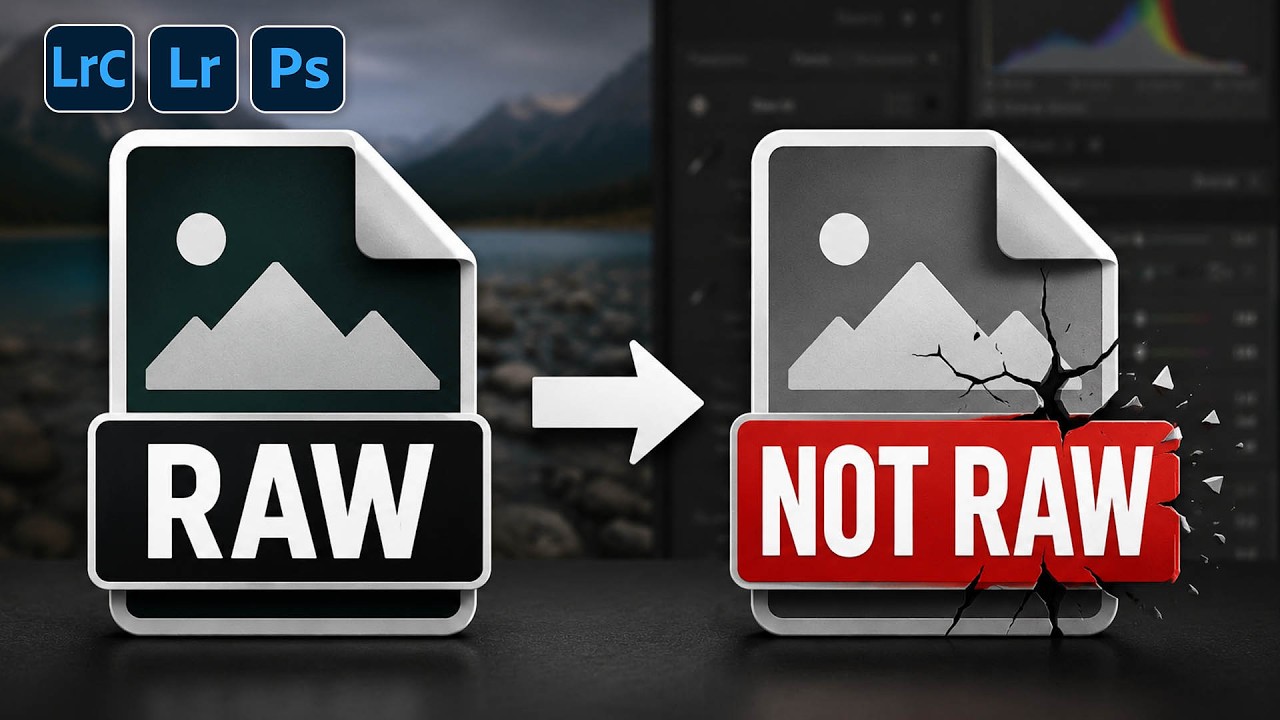
There’s a conversation I’ve had more times than I can count, usually in the comments section of a tutorial or in a DM from someone who’s genuinely frustrated. It goes something like this: “I opened my RAW file in Photoshop, used the Camera Raw filter, and the autofocus points feature was grayed out. Is my camera not supported?” The answer isn’t about the camera. It’s about a fundamental misunderstanding of what a RAW file actually is once it crosses the border from Lightroom into Photoshop.

Lightroom's Masking Edge Problem Is Finally Fixed - Here's How to Use the New Controls

Lightroom's Masking Edge Problem Is Finally Fixed - Here's How to Use the New Controls

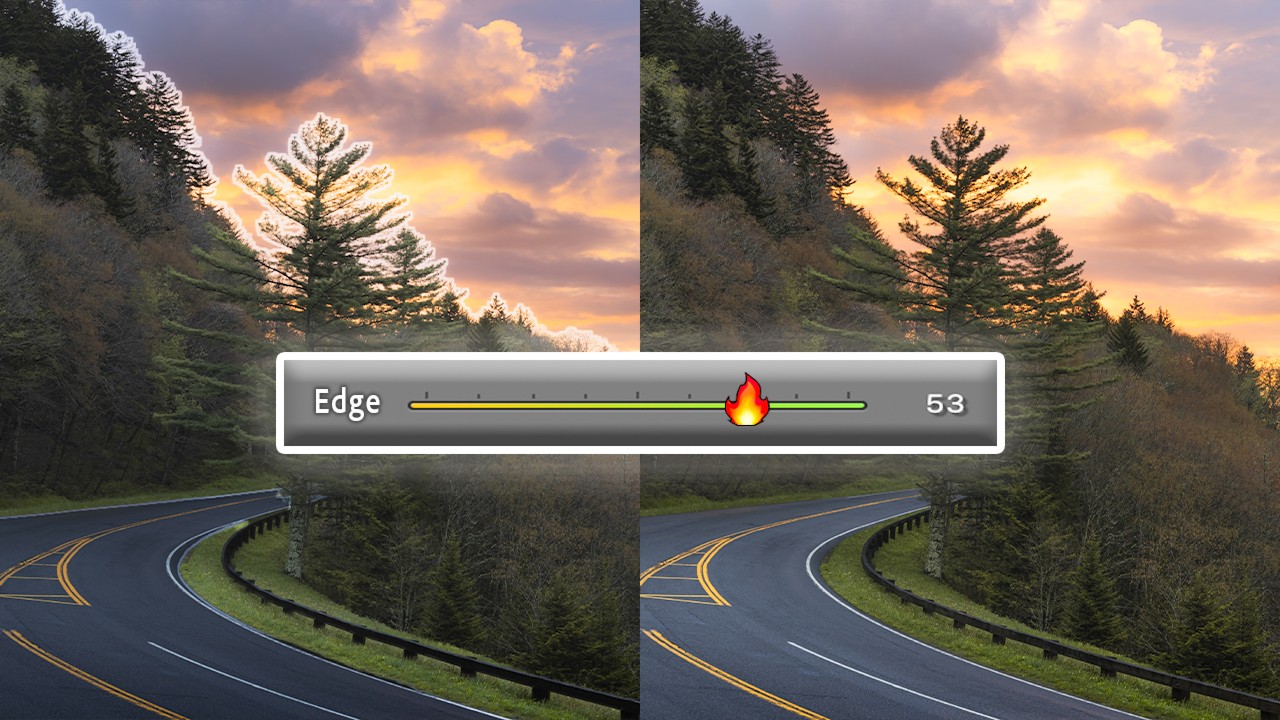
If you’ve spent any real time with Lightroom’s AI masking tools, you already know the specific frustration I’m talking about. You select the sky, make a solid exposure adjustment, and then zoom in to find your tree branches have turned into a soft, smeared mess along the mask boundary. Or you get that telltale halo glowing around every edge like the photo is auditioning for a soap opera. The adjustment itself might be perfect, but the edge blowout kills the whole thing.

How to Make Your Woodland Photos Look Like Paintings Using Only Lightroom

How to Make Your Woodland Photos Look Like Paintings Using Only Lightroom

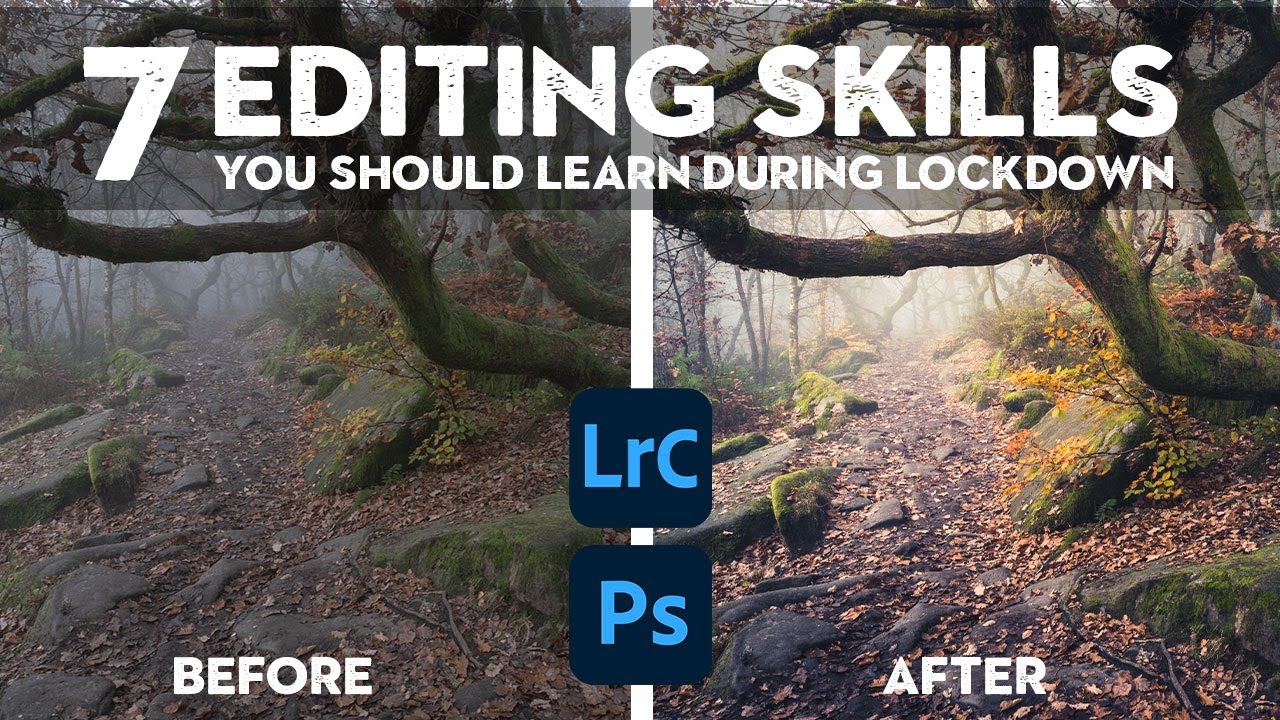
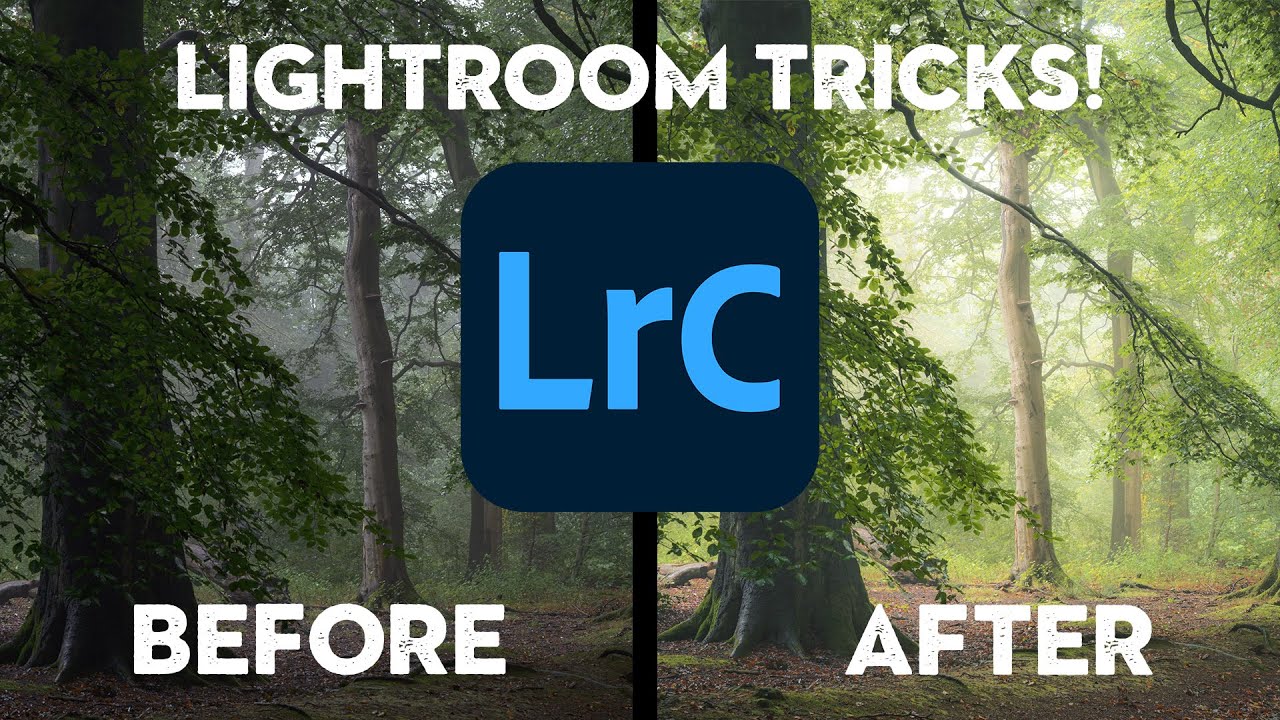
Fog-filled woodland shots are one of those subjects where the camera almost always lies. You’re standing in this genuinely atmospheric scene, the light is doing something magical, and then you pull up the raw file and it looks flat, a little muddy, and about as painterly as a screenshot from Google Maps. I’ve been editing nature photos long enough to know that the gap between what you saw and what the sensor captured is real — and closing that gap is entirely an editing problem.

Split Toning Is the Reason Your Photos Look Almost There (And How to Fix It)

Split Toning Is the Reason Your Photos Look Almost There (And How to Fix It)

I was editing a client’s golden hour shoot last spring, Rumours by Fleetwood Mac on the turntable, and I kept nudging the overall white balance warmer trying to get that rich, filmic feel. Warmer. A little warmer. Now it looked like the couple got married inside a tandoor oven. The problem wasn’t the temperature slider. The problem was I was treating the whole image as one tonal unit when it isn’t.